The Basics
Misty's Interactive Tutorials
Misty Studio is packed with great stuff, and you could read through all of the docs to see how to use it, or you could just give it a try. Misty comes with an interactive tutorial that will teach you all about Misty Studio. It's way better than reading documentation!
Sending Basic Commands
- Use the Explore -> Expression section to change the color of Misty's chest LED, show a different image on her display, and have her play a sound.
- Use the color picker or type in different RGB values and click the Apply to Robot button. For example, if you wanted Misty's LED to be purple, use Red:
101; Green:73; and Blue:157.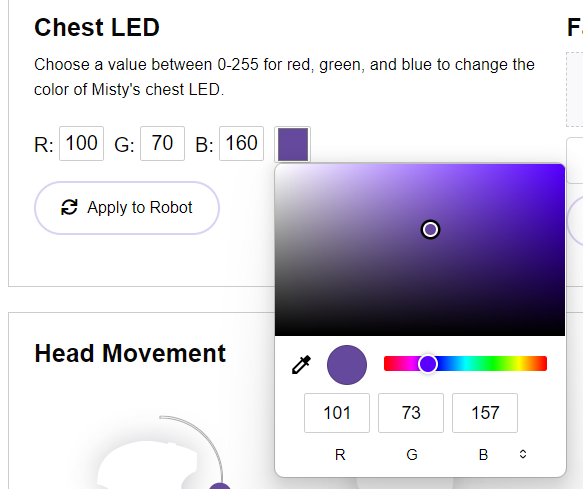
- Change Misty's eyes by choosing a different file from the Face Display menu. For example, try changing her eyes to
e_JoyGoofy2.jpgore_Surprise.jpg.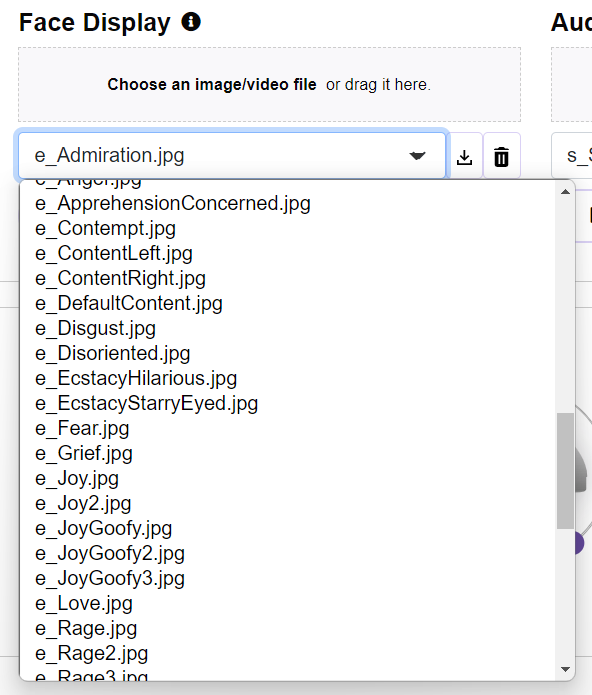
- Play a sound by choosing a file from the Audio menu, like
s_Boredom.wavors_Sleepy.wav.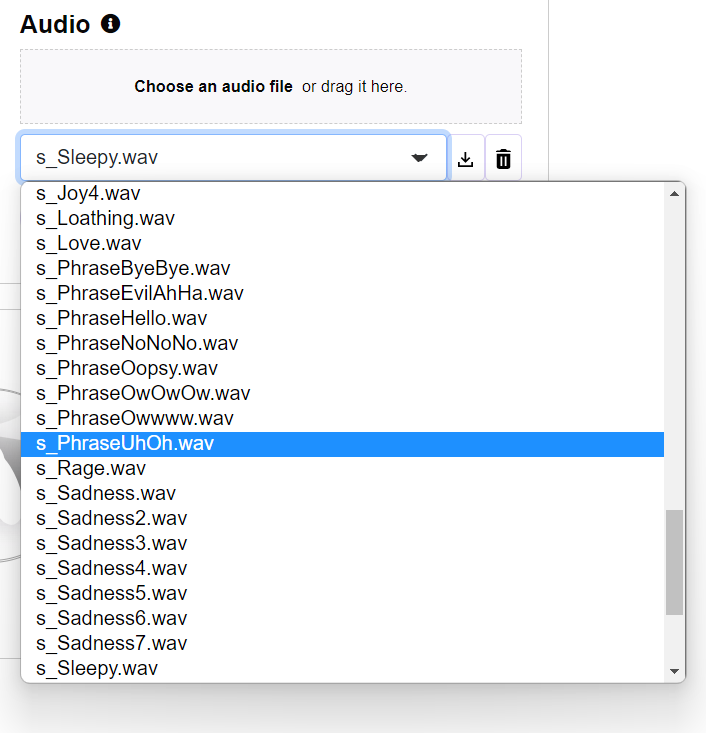
- Use the color picker or type in different RGB values and click the Apply to Robot button. For example, if you wanted Misty's LED to be purple, use Red:
- Use the Movement section to move Misty's head and arms.
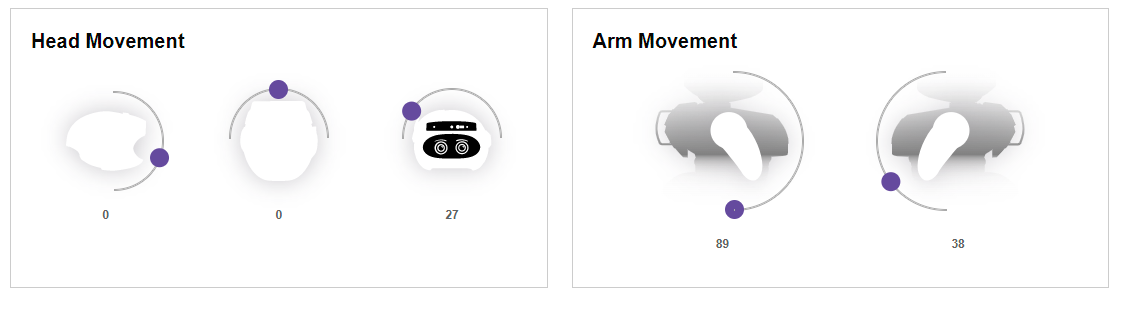
- Move Misty's head by moving the sliders under Head Movement. Set a new Pitch, Yaw, or Roll position, and and Misty's head will move to the commanded position.
- Move Misty's arms by moving the left or right slider. When you release the slider, the arm will move to the expected position.
- If you'd like Misty to recognize your face, use the Explore -> Vision section to train Misty to recognize your face.
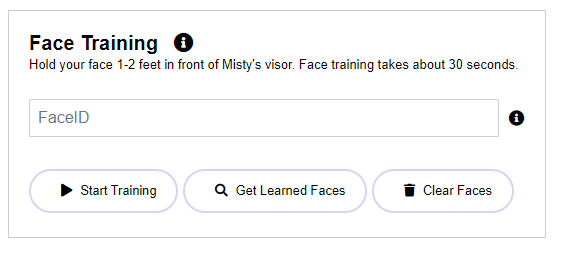
- To make sure Misty's head is positioned for effective face training, use the Pitch, Yaw and Roll commands under the Head Movement section to align Misty's gaze with yours. Then, in the Vision section, go to Face Training and type your name in the FaceID field. Make sure to enter a single word without spaces.
- Click the Start Training button. Wait 10-15 seconds for face training to complete. The main Command Center window displays pop-up status messages during the face training process.
- When face training is complete, you can click the Get Learned Faces button to see the labels for people Misty can recognize. Check for your name to make sure Misty learned your face.
- Use Misty's camera to take a picture.
- Use the head movement controls to point Misty's visor at something you'd like to photograph. In the Take Photo section, under RGB Camera, click the Display Photo button to see what Misty's sees.
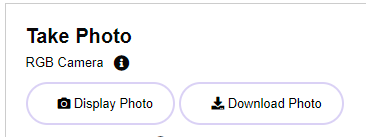
- Use the head movement controls to point Misty's visor at something you'd like to photograph. In the Take Photo section, under RGB Camera, click the Display Photo button to see what Misty's sees.
Exploring Misty's API
You can use Misty's API Explorer to browse Misty's list of HTTP API endpoints, send requests to Misty, experiment with different parameters, and generate code samples for Misty's HTTP API and on-robot JavaScript API. This section of the Getting Started guide teaches how to start using the API Explorer to send commands directly to your robot.
Follow these steps to start learning about the API Explorer:
- Follow the link at the top of the Command Center to open up the API Explorer web page, listed under 'Programming' within Misty Studio.
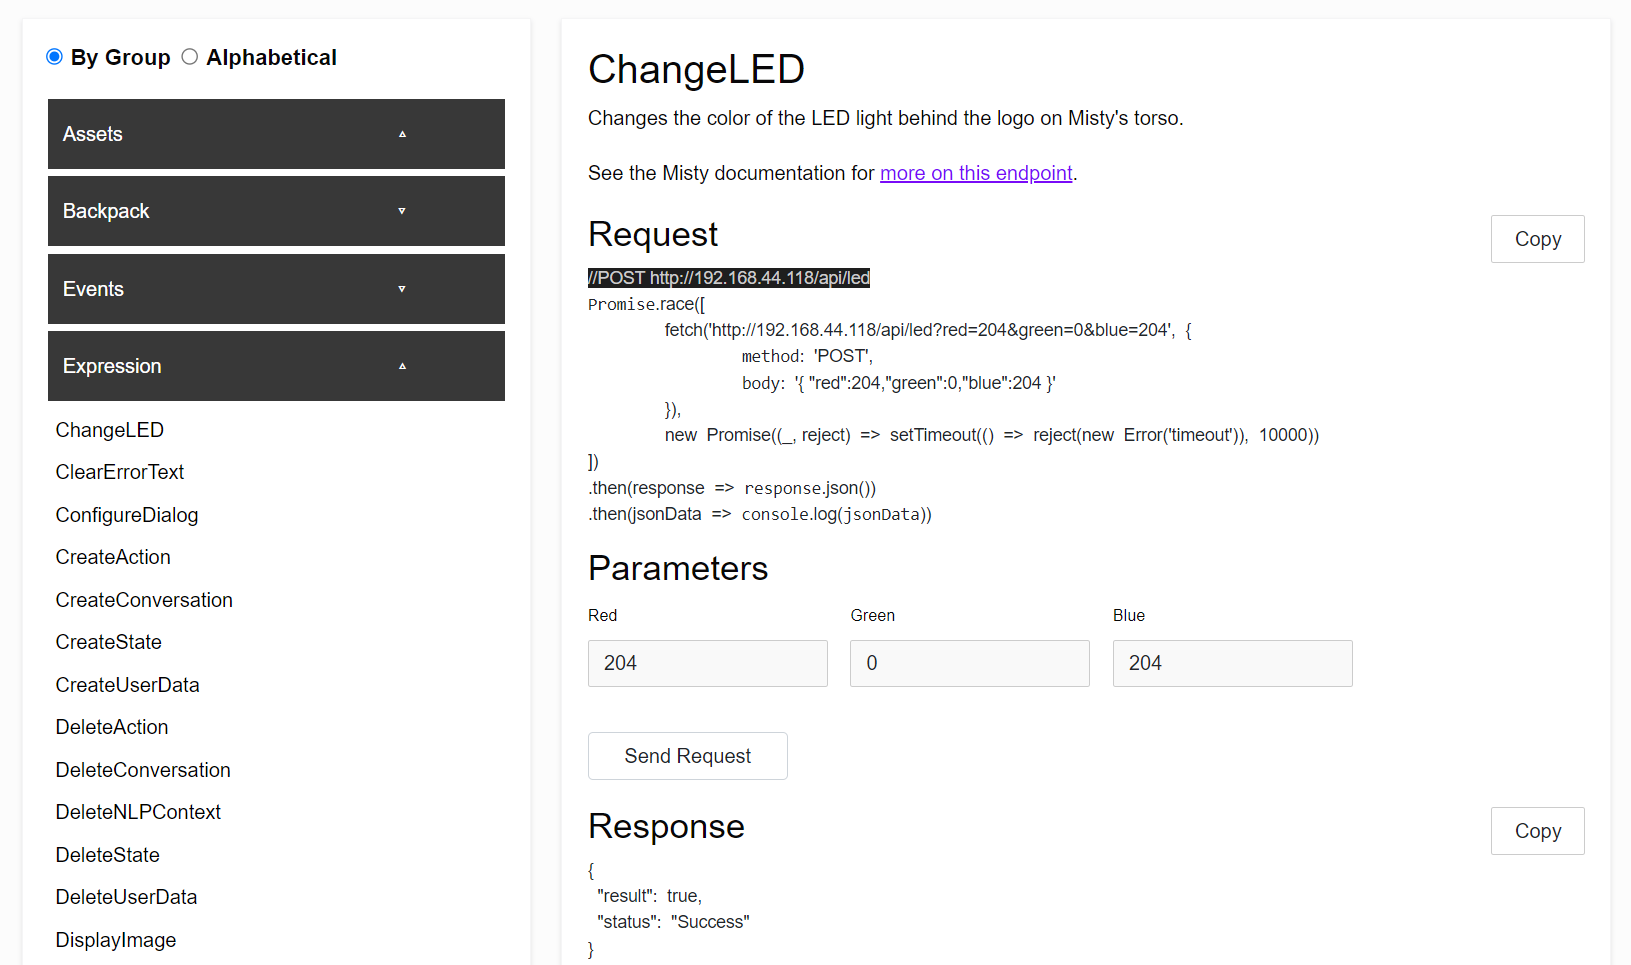
- Start by changing the color of Misty's chest LED. Open the Expression group in the left-hand side of the page and select the ChangeLED command.
- Under the Parameters section, add a value between
0and255in the Red, Green, and Blue fields. For example, if you want her LED to be fuschia, use Red:204, Green:0, Blue:204. - Click Send Request to send the command and change the LED. The full sequence looks like this:
- Next let's play an audio clip from Misty's built-in speakers. Select the Expression group from the list on the left-hand side of the page, and click on the PlayAudio command.
- Enter the file name for one of Misty's default system audio files into the FileName field. Try using
s_Joy3.wav,,s_Amazement.wav, ors_Annoyance.wav. Set the volume to a number between10and100, and then click Send Request.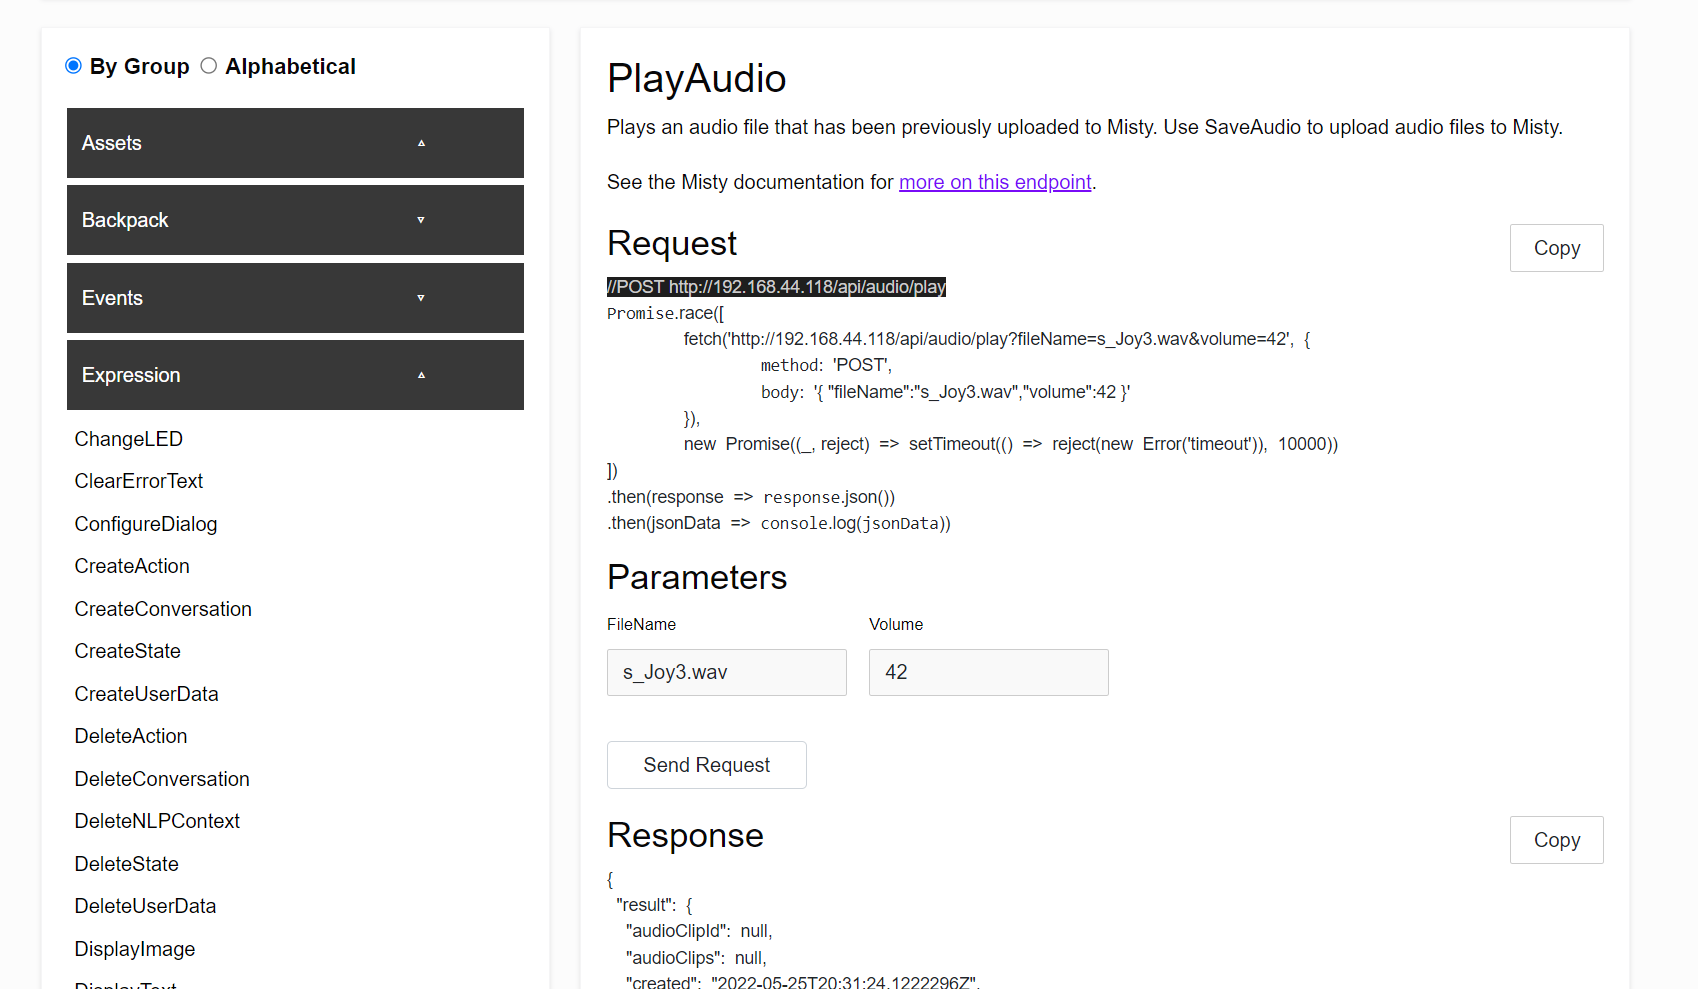
- Lastly, let's change Misty's eyes. Select the ChangeDisplayImage command from the list of commands. Enter
e_Disgust.jpg,e_Admiration.jpg, ore_Fear.jpginto the FileName field, and click Send Request.
Getting Support
If you get stuck or have questions while developing for and interacting with your Misty II robot, there are several ways to get help.
- For questions about coding Misty, post in the Community Forums first. This gives other developers – in addition to all of the Misty staff – the ability to jump in and help. The Support, Feature Requests, and Bug categories (in particular) are monitored for immediate response from 9am-6pm Mountain Time on weekdays and from 9am-4pm Mountain Time on weekends.
- For customer support – for example, for shipping questions, or issues with Misty's general functionality – email us at [email protected]. Our email support hours are 9 AM to 5 PM MST Monday through Friday.